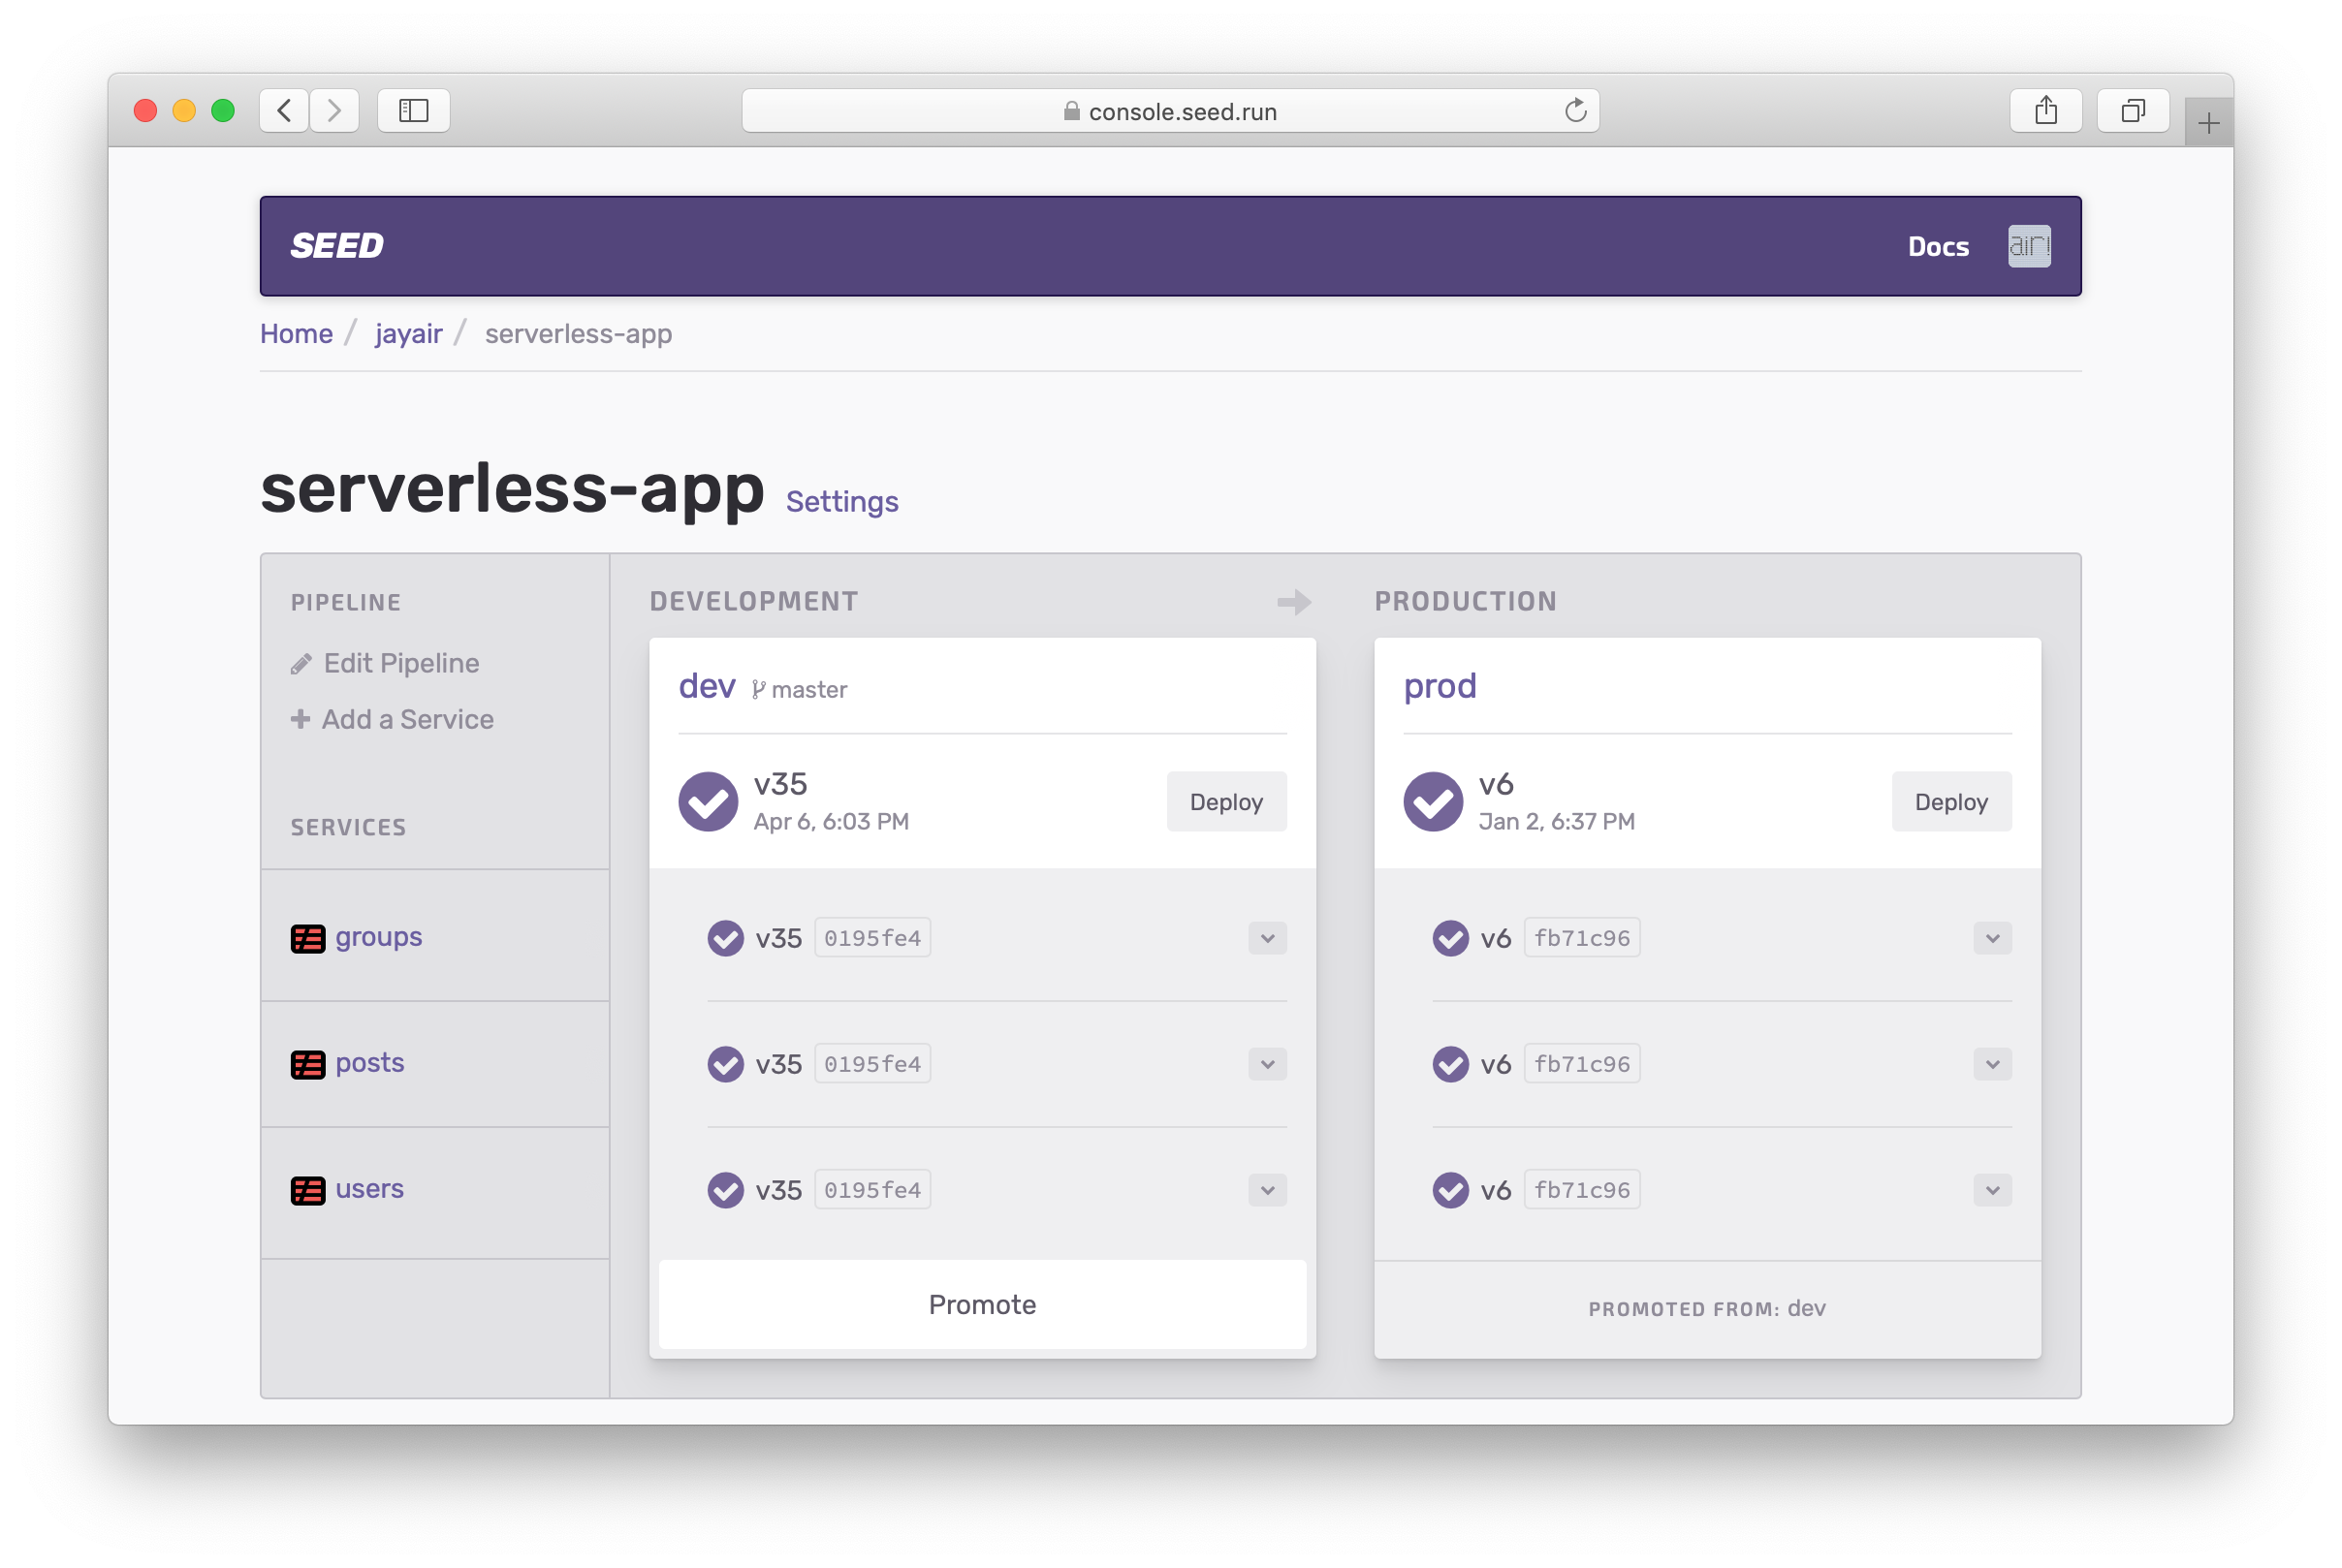
Updating the Stage Source
Once you have your stages/environments configured, you might find yourself needing to change the branch that is tied to it.
This can happen when you are trying to test an update on staging that might not be on master (assuming you have staging connected to master).
Update the Source Branch
To change the branch that is tied to a stage, select the stage.

Click Settings and select Update Source.

And select the branch that you’d like to auto-deploy to this stage.

This will automatically start creating a build in the stage with the selected branch.
Auto-Deploy Options
By default, auto-deploying for the prod or production stage is turned off and is turned on for all other stages. This is a good practice since it is better to review your code and infrastructure changes before deploying to production.
However, you might run in to cases where you’d like to configure the auto-deploy setting. To do so, go to the stage settings and select Enable Auto-Deploy.

Just as the case above, this allows you to select the branch you’d like to auto-deploy. You can also disable auto-deploying at any time in the future by hitting the Disable Auto-Deploy button.

You can also trigger a one-off deployment by using the manual deploy option.
Help improve this page. Edit it with GitHub
Was this page helpful? Let us know via Twitter
Having trouble configuring a CI/CD pipeline for your Serverless apps? Let Seed do it for you!
Learn More